Retrofit reversing camera on motorhome
Spotting obstacles when reversing
Positioning yourself on the pitch or even driving backwards on the ferry: a horror for many motorhome drivers. That's why we decided to retrofit a reversing camera. You can read here how it's done.
Table of contents
What components does the reversing camera set consist of?
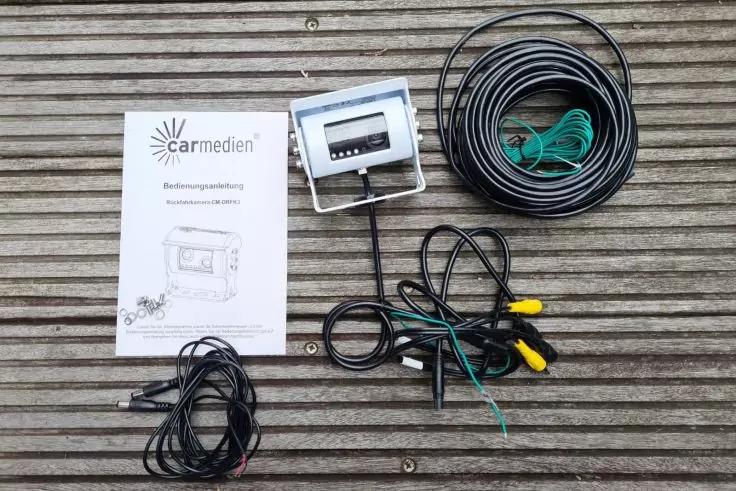
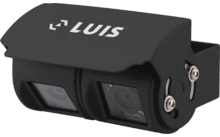
We have installed the reversing camera from carmedien, model CM-DRFK3. The set consists of several components, which in this case include:
- One casing with two camera modules (twin camera) including bracket
- Connection cable (15 metres) with mini 6-pin connector system
- Cinch adapter for connection to common reversing monitors and multimedia systems
- Stainless steel screws and washers
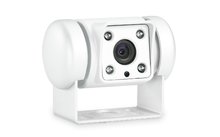
In this model, both camera modules are accommodated in one casing, which means that only one thin 7 mm connecting cable has to be routed into the vehicle interior.
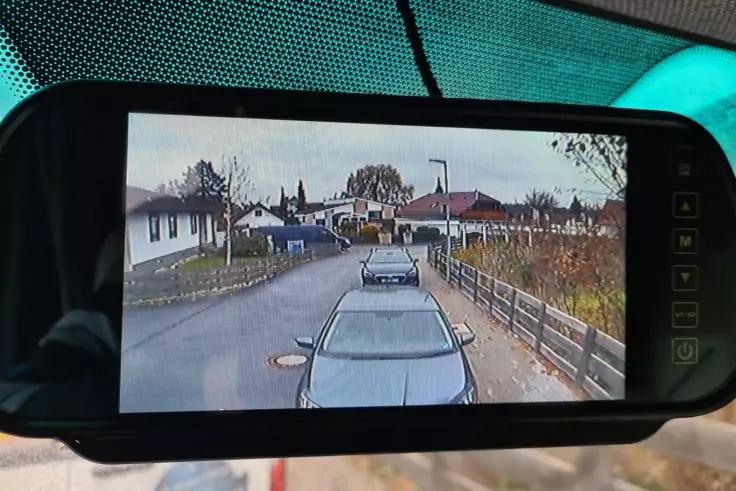
No screen is included in the scope of delivery of this reversing camera set. We have obtained this separately. If you also need a screen, make sure that it has a good resolution and that the display is not distorted.
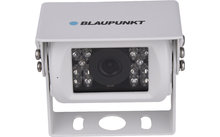
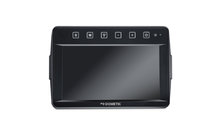
high-quality reversing cameras for motorhomes
Functions of our new reversing camera
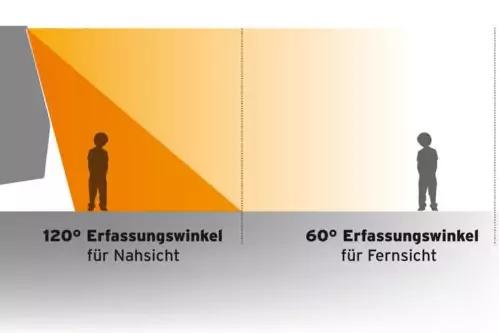
- Twin camera: Recording angle 120 degrees for a large field of view at close range / recording angle 60 degrees at long range for monitoring following traffic.
- Night vision function
- Waterproof and dust-proof (protection class IP68)
- Stainless steel casing and screws
The wired system is to transmit the signal from the camera to the monitor in the driver's cab later by cable. Alternatively, the recordings can be transferred to the already existing on-board computer.
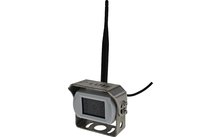
If you would rather install a wireless reversing camera, we show you how to do it in this blog post.
Installation manual: Reversing camera on the motorhome
Here you can find out how we went about retrofitting the reversing camera to the motorhome.
What to do on the exterior
To begin with, check possible mounting locations for the camera. Pay particular attention to the correct alignment: Do you have enough space for the cable routing, are there any obstacles on the inside?
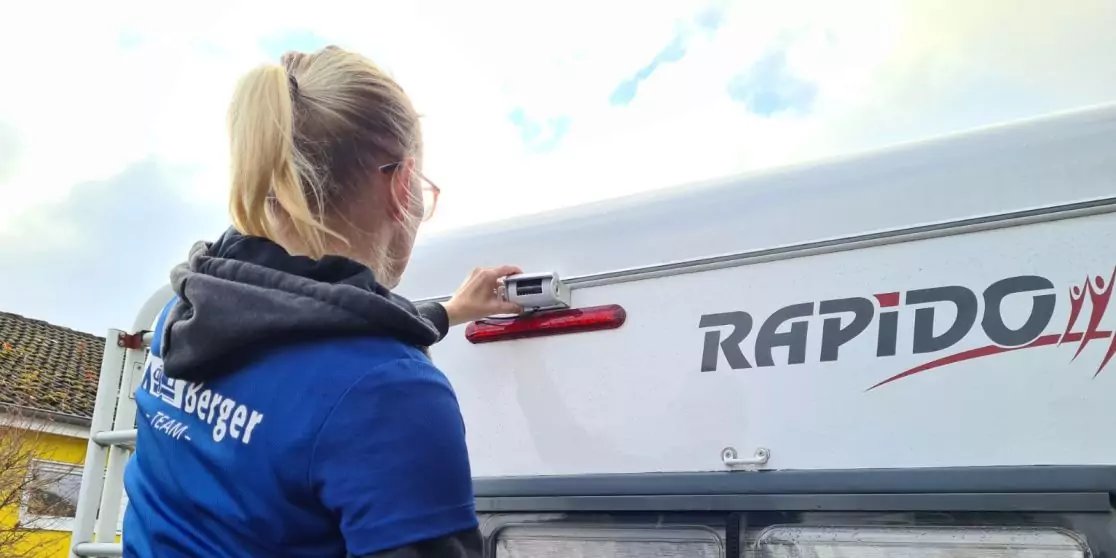
It is essential that the camera is mounted centrally on the vehicle so that the image is displayed well later. For our camera model, a height of approximately 2.5 metres has proven to be ideal. The manufacturer's assembly instructions can help you here.
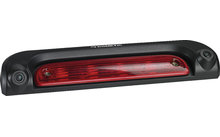
In our example, you can see that we have mounted the camera between the brake light and the upper keder rail. Here there was just enough space for the holder and casing so that the light of the brake light is not covered.
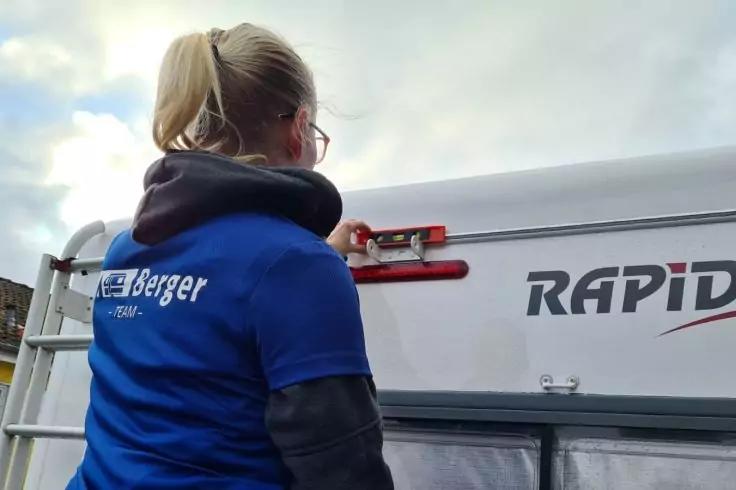
Then hold the camera and the bracket up for a test and mark the dimensions and the holes for the bracket. Use a spirit level for this.
Drill the holes, mount the holder and glue it in place with some sealant. After the mass has dried, you can screw on the camera and roughly align it.
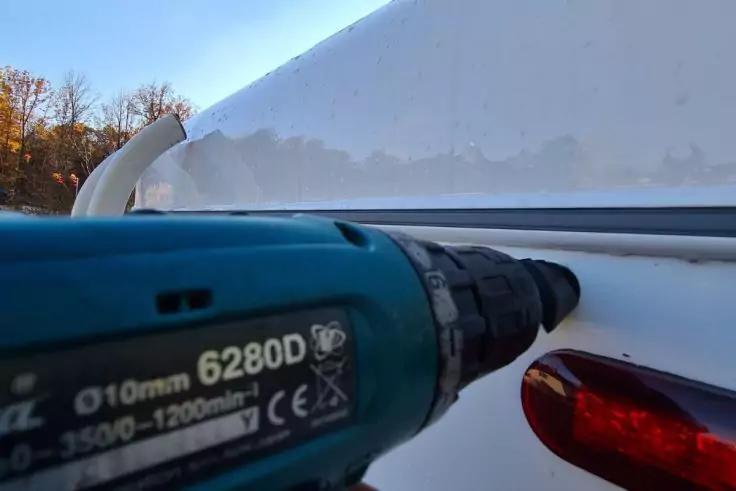
After you have marked the cable feed-through, drill the hole for it. A hole saw or a step drill is suitable for this purpose. If you want to continue working on the inside, lead the cable inside and seal the hole with the sealing sleeve and sealant.
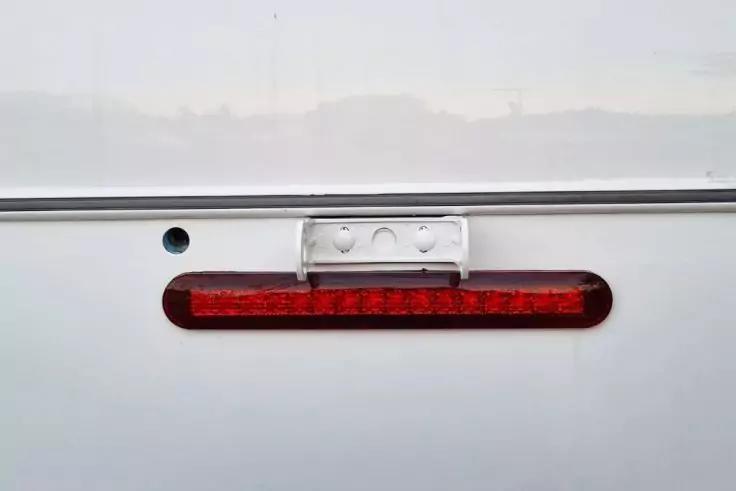
The holder is now fully assembled and the hole for the cable feed-through is drilled.
Seal the hole temporarily, for example with masking tape, if you cannot continue working immediately.
Make sure you use sharp tools and work carefully. This is the only way to achieve good results – after all, you are drilling into the outer shell of your motorhome.
What to do on the interior
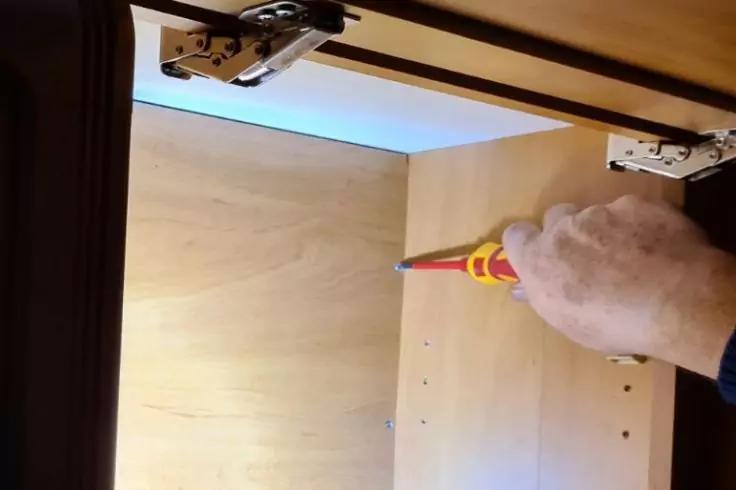
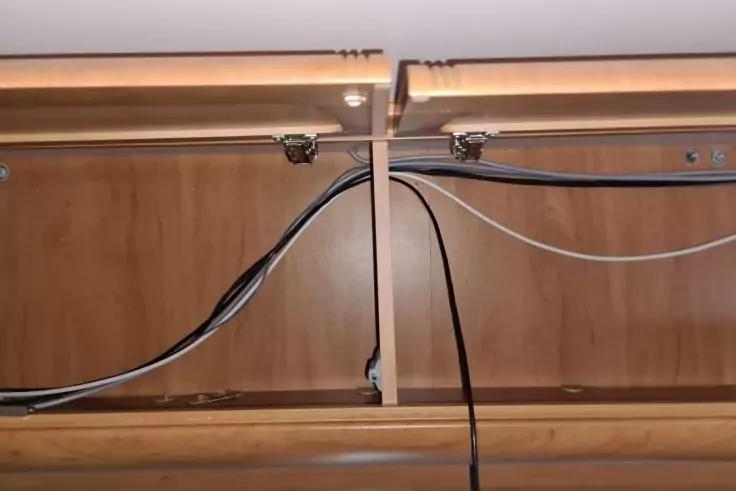
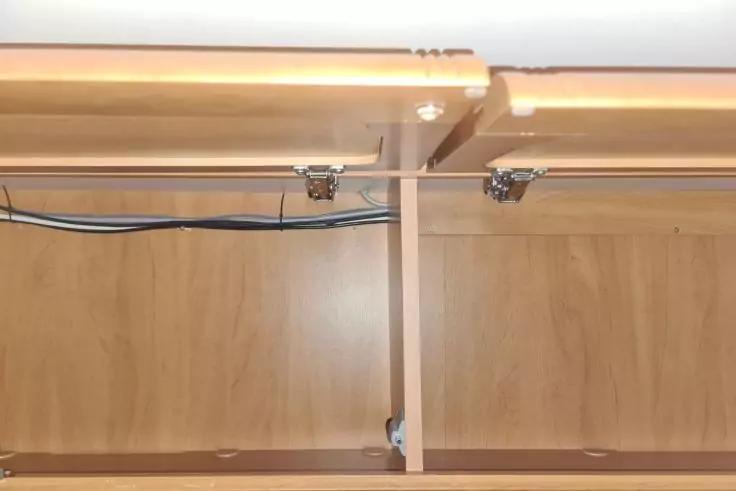
To find the already existing cable duct in the motorhome, the cladding in the storage compartments must be removed. Behind it run power cables for the lighting and the sockets.
We have laid the cables for the reversing camera here. Alternatively, you can sometimes lay them across the floor of the vehicle.
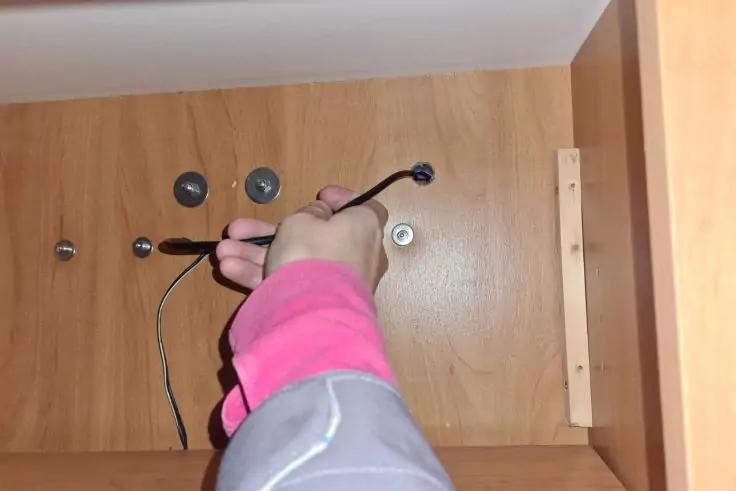
After you have determined the best path for the cable, you can pull it in. Make sure that the bending radii are large enough.
Important: Secure the cable against rattling, but do not pull the cable ties too tight.
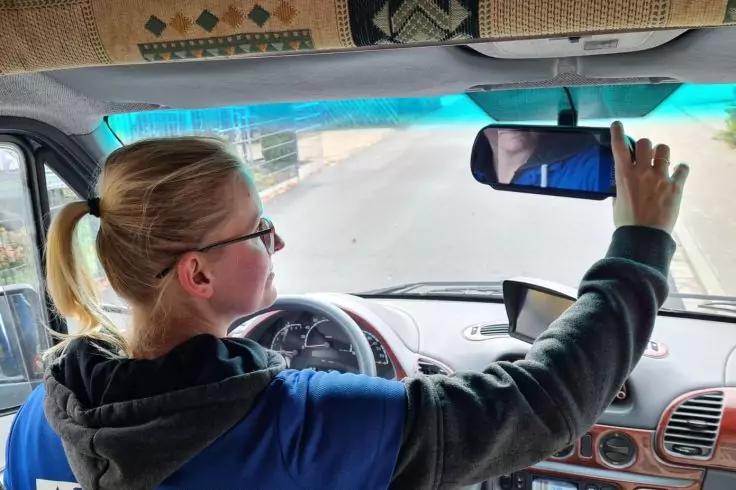
Before you run the cable from the camera all the way to the screen, you should check possible mounting locations for the screen: It must not obstruct the view of the road, but must be clearly visible to the driver. Also consider possible obstructions in the mounting area, such as an existing rear-view mirror or the sun visors.
Now run the cable all the way to the screen. Then close the storage compartments again. Finally, set up a 12 V power supply for the camera and monitor. Make sure that the power supply is protected in such a way that the reversing camera switches off automatically when the engine is switched off.
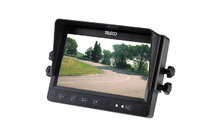
suitable screens for reversing cameras


Now comes the technical set-up of the camera. If you want to, you can connect it so that the camera switches on automatically when reverse gear is engaged. You can do this by connecting the camera and the screen to the terminal on the reversing light.
Finally, you only have to fine-tune the camera and the monitor. This is best done in pairs.
The driver checks the display on the screen while a second person positions themselves at various points behind the motorhome.
Cost of a motorhome reversing camera
Depending on the manufacturer and model, the prices for motorhome reversing cameras vary considerably. Simple models without a screen are already available from 50 Euros. More expensive versions with high-resolution screens can cost from 500 Euros upwards.
Here you can find all reversing cameras in the Berger online shop.
Conclusion: great effort, great benefit
Granted: The time required for this installation was high. By installing a reversing camera, however, we have not only upgraded the vehicle financially. The better view to the rear makes parking and manoeuvring much easier and creates safety when driving. If you enjoy technology, you can do the installation yourself without any problems.