Repair sleeping bag and air mattress
Helpful tips for repairs on the road
Sleeping bag and air mattress can break down due to material fatigue or wear, sometimes also due to external influences. But you can repair small damages to your sleeping bag or air mattress yourself immediately and without much effort - even on the road.
Table of contents
Repairing the sleeping bag
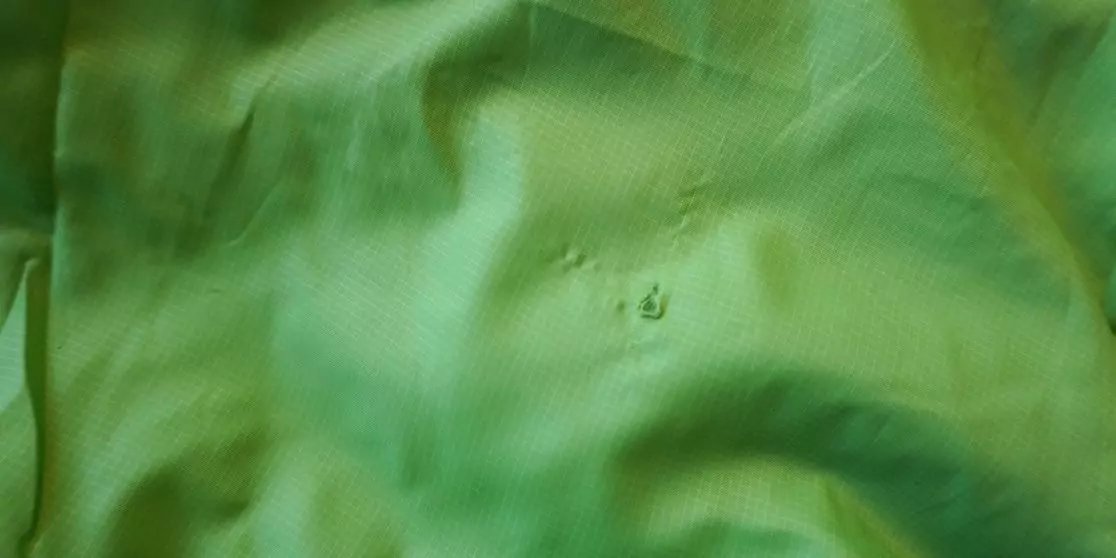
Small tears or holes in the sleeping bag can happen quickly. Be it due to incorrect storage or material fatigue. No matter how big the hole is, you should repair the sleeping bag immediately. If it is broken in one place, the filling material can leak out and you will freeze during the night.
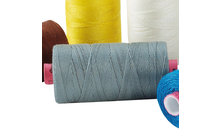
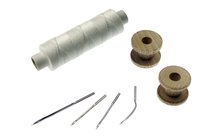
However, depending on the material of the sleeping bag, it is not advisable to sew the sleeping bag. The surrounding material will only be damaged more by the sewing needle and could tear more easily in the future. It is better to glue the sleeping bag. There are special textile patches in different colours and materials, but in a pinch you can also use a piece of adhesive tape.
Repairing the air mattress
A hole in the air mattress you sleep on is one of the worst things that can happen. On holiday, we once woke up in the middle of the night on the floor because our air mattress lost air through a hole. We spent half the night patching the hole and were more than annoyed the next day.
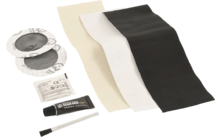
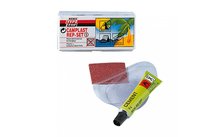
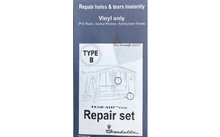
To prevent this from happening to you, make sure when you buy your air mattress that it comes with adhesive patches. These are patches that are usually made of the same material as the mattress itself and can be stuck to the broken area using glue. Store the patches safely in the air mattress packing bag so that they do not get lost.
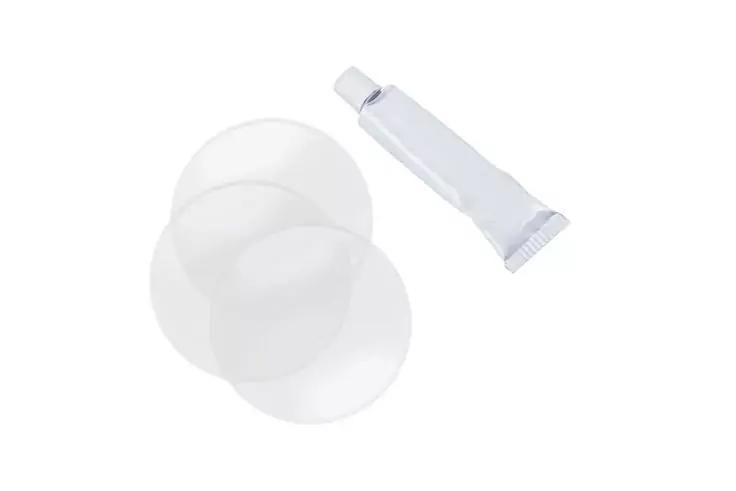
If this is not included in the scope of delivery, there is also replacement patch kit. This usually contains vulcanising liquid, which is a kind of glue, sandpaper and patches. Alternatively, bicycle repair kit or superglue are also very helpful.
Locate the damaged area
You can easily see exactly where the hole is:
- Inflate the air mattress a little.
- Wet it with water and see where small bubbles form. This is where the air comes out.
This is how it is done
1. Roughen the clean and dry area with the help of the sandpaper. Preferably also the area within a radius of 4 centimetres.
2. Now apply the vulcanising liquid over a large area. Most of the time you have to let it dry for a short time.
3. Then press the patch firmly into place and weigh it down. If you have to do it quickly or if it is very cold outside, you can put a cup of hot water on it. This speeds up the process a little.
4. Let the patch dry for at least 10 minutes before checking that everything is tight. If the edge comes off, you can repeat the process at this point.
In the case of a larger hole, as can be caused by a stone, it is advisable to sew the area together roughly first so that the pressure on the patch is not too great. Then glue the patch over the hole and the sewn area and everything is sealed again.
Conclusion: instant help on the go
We have outlined some quick fixes for your sleeping bag and air mattress when you are on the move, so you can continue to enjoy your camping holiday undisturbed.
The actual repair should be done at home or by a professional.